.
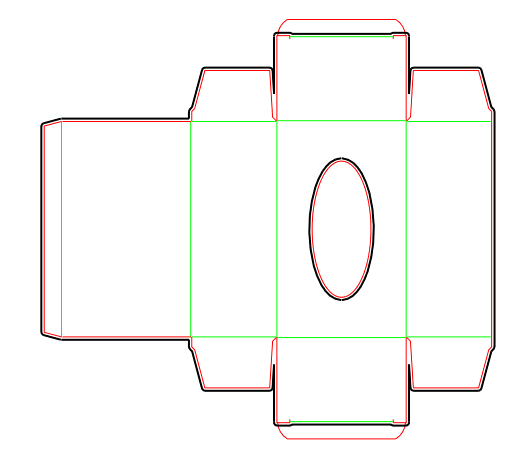
.The design of varnish blanket — the rubber that carries the varnishing substances and applies them onto the surface of packaging — takes place in a special layer that carries the data about which areas will be varnished. This layer also contains the information about the areas on which glue is applied.
After the bleed has been created, it appears automatically in the layout drawing.
The New Layer dialog box appears.
The new layer — it is called VSH — appears in the list of layers in the Layers section.
.The Varnish Layout dialog box appears.

A message box appears, informing you that the layout varnish area has been generated and that a layer has been created that contains the varnish area objects.
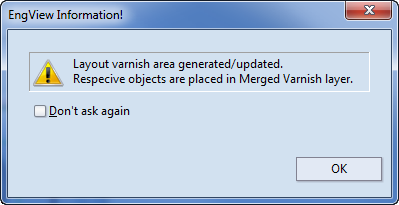
The new layer (MVSH) appears in the table of the layout drawing. The layer contains the merged data about the varnish area.
 .
.The Blanket dialog box appears.
Preset Name Displays the predefined set of settings for a blanket varnish job. To add a new preset, use the Add button  and then type a preset name. To remove a preset, select it, and then click the Remove button
  .
.
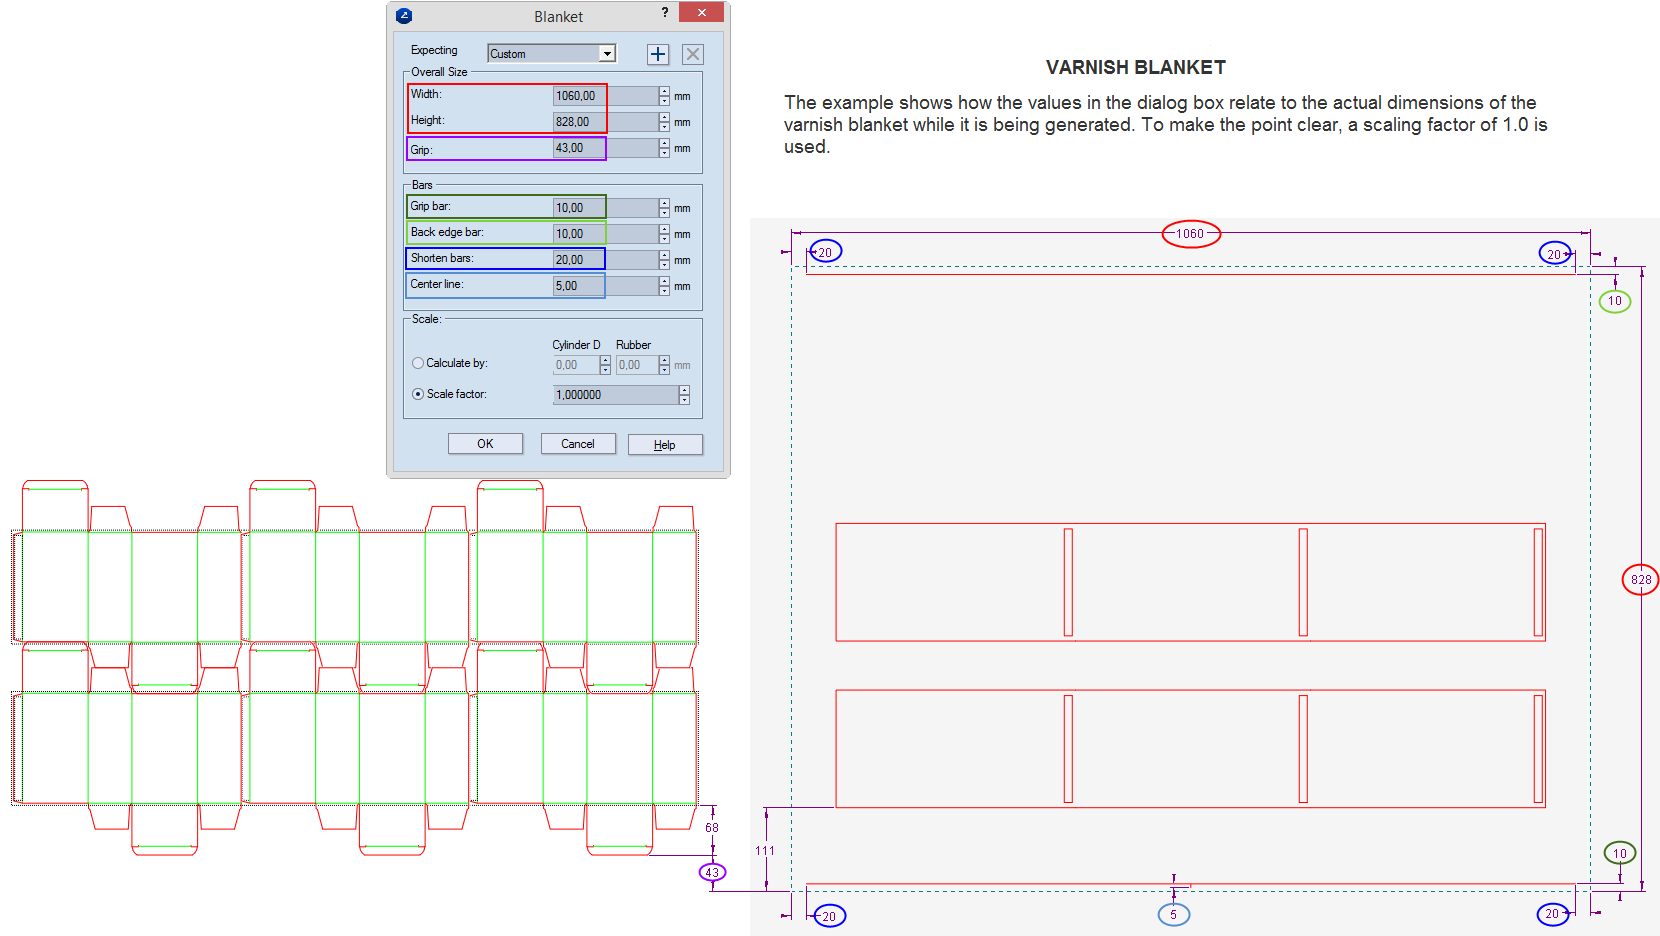
Overall Size Settings for the size of the varnish blanket
Width The width of the varnish blanket.
Height The height of the varnish blanket.
Grip The distance between the blanket's grip bar and the bottom layout rule.
Bars Settings for the distances relative to the overall size of the bars
Grip Bar In the drawing, the lower edge of the blanket.
Back Edge Bar In the drawing, the upper edge of the blanket.
Shorten Bars The distance to be left between the ends of the bars and the blanket.
Center line The height of the center line.
Scale Settings for how the varnish blanket should be scaled to take into account the curvature of the cylinder
Calculate by Calculates the blanket according to the cylinder's diameter (Cylinder D) or the rubber (Rubber).
Scale factor Sets the coefficient by which scaling is done along the y-axis.
NOTE: By using scaling factors you compensate for the physical changes that take place to the blanket's size when it has been applied onto the drum. Most often the scaling is done along the Y-dimension, because it is where the blanket is extended; the X-dimension does not change.
A new drawing appears that displays the created varnish area.
=========
See an example of how the dialog box's controls relate to the actual varnish blanket drawing.
=========
If a glue area needs to be added to the surface of the, it is defined by objects in the Gluing style. After the area has been defined, these objects are sent to the Varnish layer — see Steps 3 and4 above and then send the objects in the Gluing style to the Varnish layer (VSH).
To set a glue area
A message appears, asking you if you want to move the selected objects from the nonstructural layer.
The selected objects are added to the layer carrying the varnish data.
.A message box appears, informing you that the layout varnish area has been generated and that a layer has been created that contains the varnish area objects.
. This generates a new merged varnish blanket.A new drawing appears that displays the created varnish area.